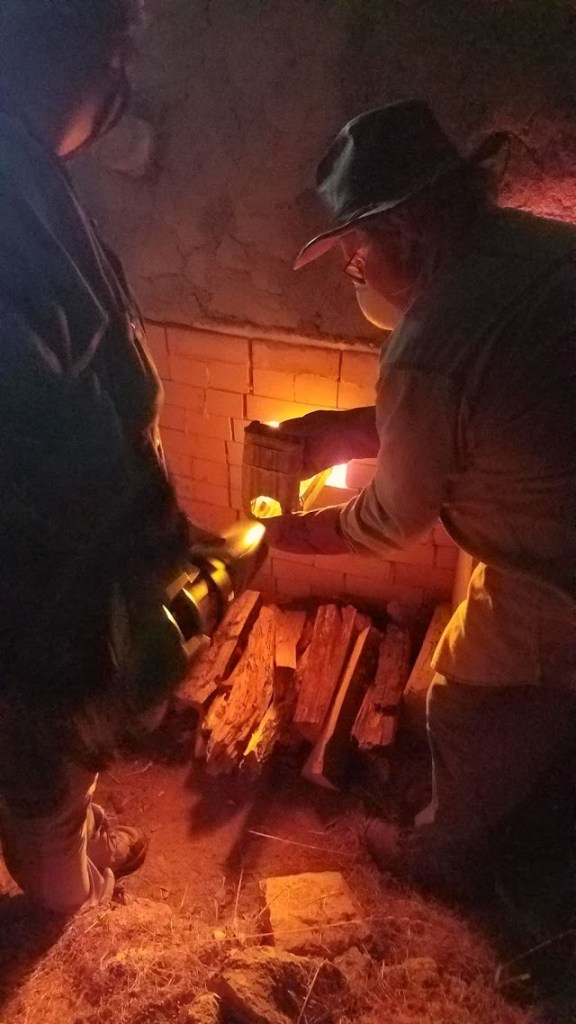
Once the fire in the kiln is lit, it must be continually fed throughout the 3-day firing process. The first eight hours is pretty low key. A small campfire is lit in both the chimney and the main firebox. A few sticks are added every 15-30 minutes throughout the evening and into the early morning. This slow start is important in order to warm the kiln and pots, and dry out any dampness in the bricks and shelves prior to starting the big push towards 2300.
Once the kiln has warmed up, stoking begins in earnest. Teams of 3-6 people work in 4-hour shifts to tend the kiln. Each shift has a goal temperature and rate of rise they are aiming for in order to keep the entire firing on schedule.


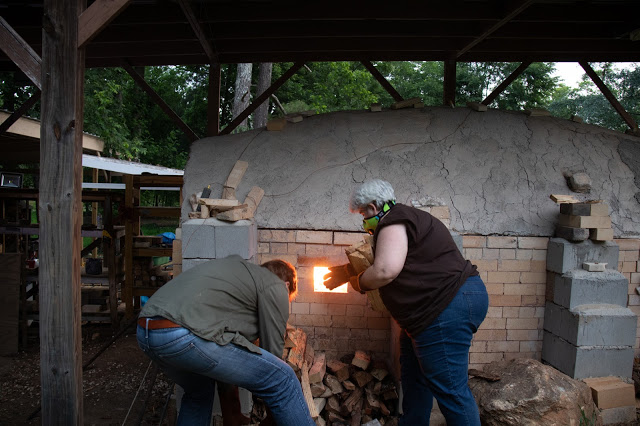
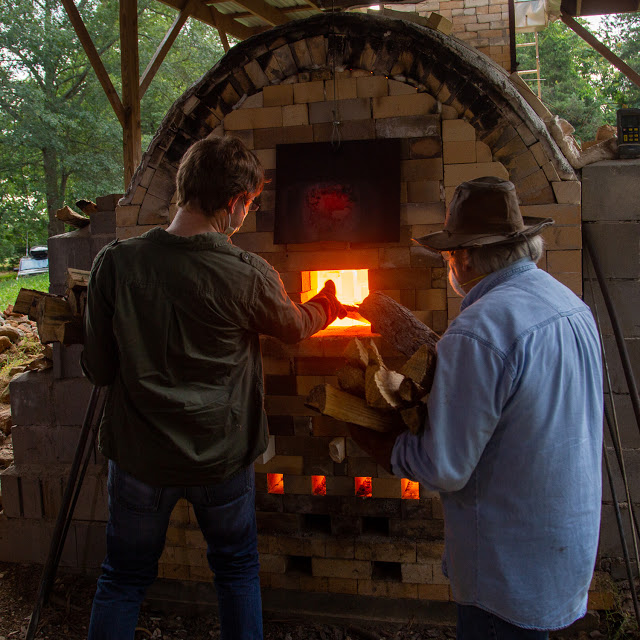

Stoking is done through stoke holes in the front and sides of the kiln. It is important that the process is done quickly and smoothly to avoid too much loss of heat through the open stoke holes. At the same time, stoking must be done with care to ensure the wood which is being tossed into the kiln does not hit any bricks or exposed pottery.
Starting around the middle of the firing, wood is also introduced into a small channel in the back of the kiln. This is to encourage the heat to move through the kiln as well as introduce a little bit of ash to the back section of the kiln where salt will later be added.
Types of Wood
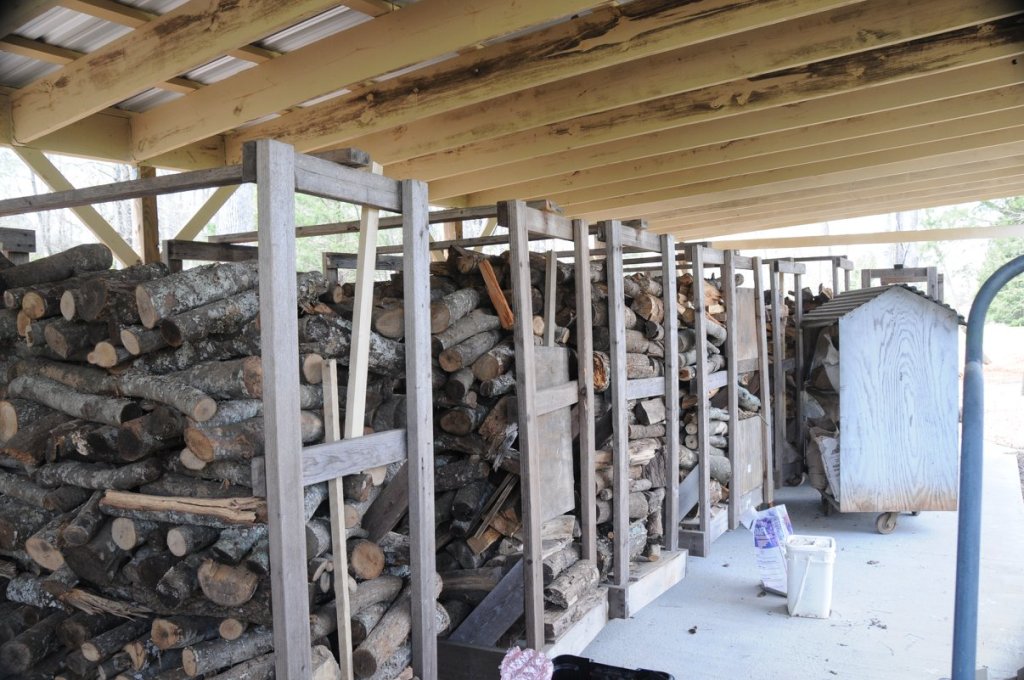
The early firing begins with hardwood in order to build a solid coal base and provide good ash. We use mostly oak, although we will use any hardwood that is available. Donations of wood are always welcome. Once the temperature reaches around 2000-2100 degrees, we switch to a mix of hardwood and pine. Then we finish with a solid 4-6 hours of straight pine. The pine gives a nice quickly burst of heat without adding too must additional ash before closing up the kiln. This helps ensure any ash which has accumulated through the firing melts smoothly, leaving a nice surface on the pots.