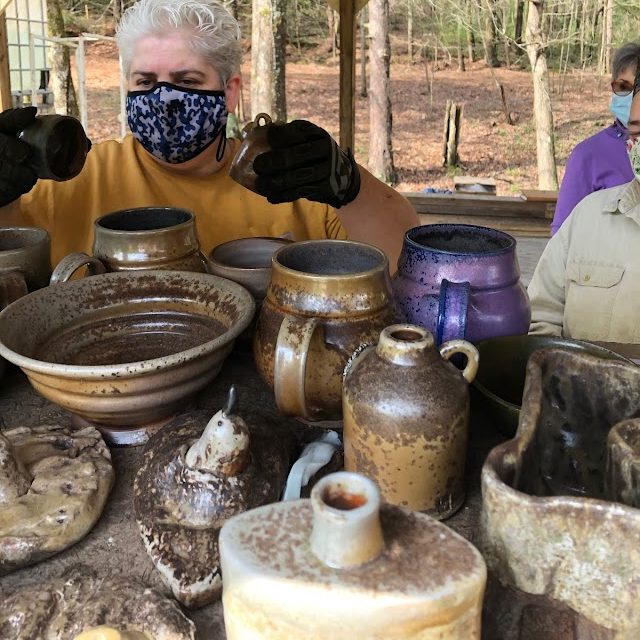
With so many fuel options available to potters, wood-fired kilns are more than just a source of heat, they are aesthetic choice. While the wood kiln firing process isn’t easy, the results are incomparable. The work created in wood kilns reveals the story of the firing, with pieces showing ash deposits and the path of the flame through the kiln. That said, how you glaze your work for the wood kiln becomes even more important. Unlike an electric or gas kiln, where you can come expect pretty consistent results from your glazes, in a wood kiln, each firing is unique and offers a new take on old favorites. In addition, the fire and ash itself can leave marks on even the bare clay which are amazing. Often and unglazed or partially glaze piece can be even more exciting that a fully glazed work.
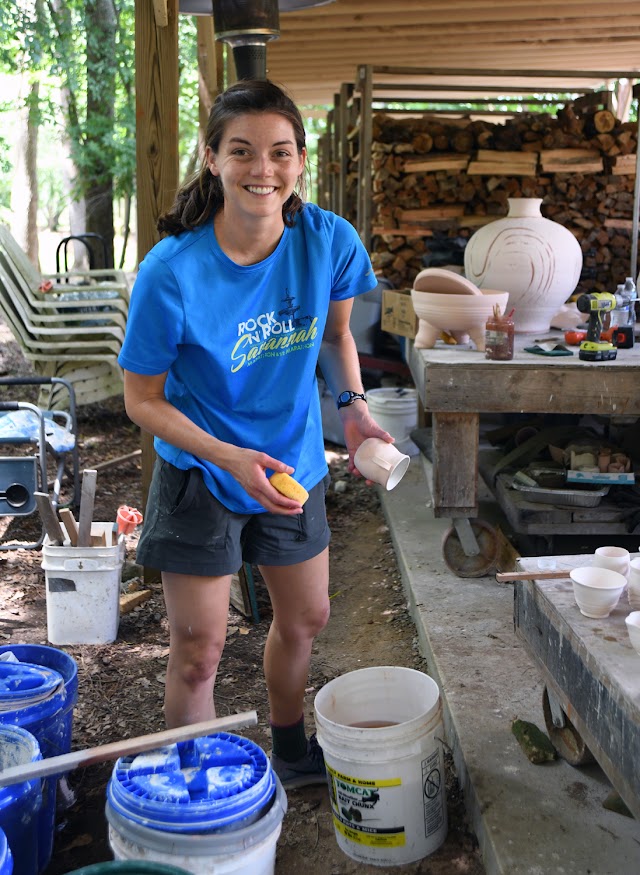
During the week leading up to the firing (Tuesday-Thursday), glazes and wadding will be available at the kiln site. Artists can drop by at any time convenient to them, day or night. For those that are firing for the first time at FireSong, it may be ideal to come by during the afternoon/early evening when the bulk of artists are glazing, so they can provide knowledge about the glazes and tips for FireSong specifically. You are also welcome to use your own glazes, as long as they are designed for cone 10 firings.
Glazes at FireSong
FireSong stocks about a dozen different glaze options for you to use. In addition, individual artists often bring a few recipes of their own. Below is a list of the standard options.
- Temmoku
- Ferguson Yellow
- Spodumene
- Shino (usually a few different options)
- Shaner’s Oribe
- Brad’s Oribe
- Yellow Salt
- Wildflower Blue
- White Liner
- Iron Red
- Flashing Slip (usually a couple options)
